Getting into macro photography can seem like a daunting task for the new photographer—especially since new macro gear is often expensive. But we’re about to change all that…
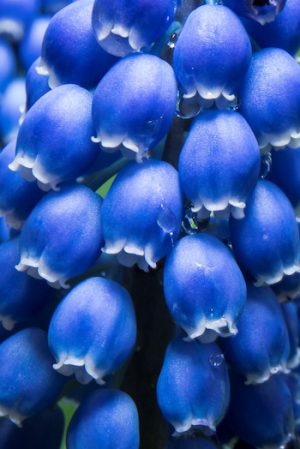
I want to show you how to turn any of your existing lenses into a macro lens using a low-cost, $12 reversing ring. This method works great and produces very sharp macro photos like the one below.
Parts List
– Lens with manual aperture control ring (not all lenses have these–check yours)
– Reversing ring (see below)
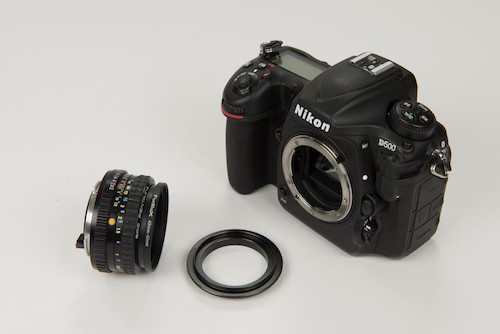
A reversing ring is probably the simplest and easiest way to create your own macro lens using equipment you already own. If you’re not familiar with reversing rings, their job is to mount your lens backwards, allowing you to create high-quality macro photographs.
You can find rings cheaply on Amazon or at most camera stores. I use both of these—which will work with just about any lens—in my own kit:
I’ve used reversing rings with lenses from all different types of camera brands. For example, I have a Pentax 50mm lens that works just fine with the reversing ring on my Nikon camera. I bought the Pentax lens for about $10 from a local second-hand store and have used it to produce some amazing macro photographs.
The key is to make sure the reversing ring fits your lens’s filter diameter. For example, my Pentax 50mm has a filter diameter of 49mm. If you’re using your reversing rings with lenses that have different diameters, then be sure to purchase the reversing ring with the appropriate filter diameter. (If you’re not sure of the filter diameter of your lens, just type your lens type into Google along with the word “filter diameter.”)
Another possibility is to buy a standard reversing ring, and then also purchase a filter ring adapter set that allows you to step up or step down to different filter sizes, like this one:
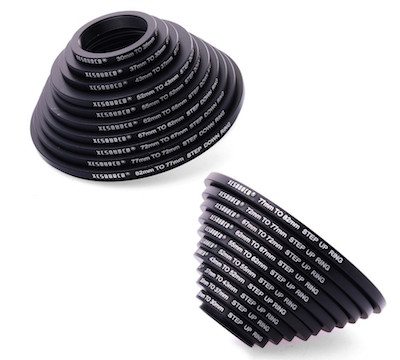
I personally use this filter ring adapter set.
Instructions
Once you have your equipment ready, follow these steps:
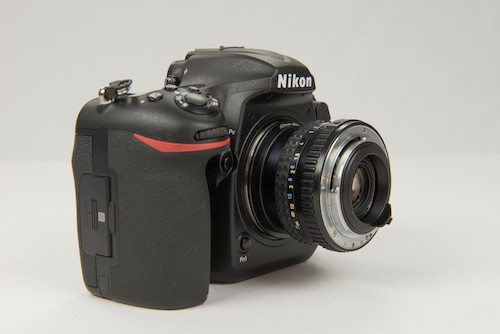
First, screw the reversing ring onto the front of the lens (where a UV filter or a polarizer would go)…
Then mount the reversing ring to the camera, like you see here below.
Now, set your aperture manually using the lens’s manual aperture ring. Just about everything in this scenario requires manual exposure, so you’ll need to:
- Set your aperture and focus manually
- Set your camera’s exposure control to manual
- Adjust your shutter speed and aperture manually
At first, it will take some time to figure out the right shutter speed, aperture, and focus. But, once you get it down, you’ll be quicker next time.
The best way to focus with your new macro lens is to simply move the camera forward and backward slightly and watch your subject through your viewfinder. You’ll see it go in and out of focus as you move.
You might also use live view mode—watching through the LCD screen instead of the viewfinder—to get a better feel for your focus.
And, that’s it. Have fun!